
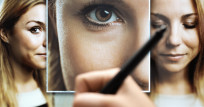


Tips for a professional model photoshoot
First, I will give you a preliminary remark. Although I was trained as a professional photographer, this does not mean that I possess full wisdom. Every photographer has his vision and methods. These may differ from mine. In my story, I will describe how I was able to develop myself in model photography.
After completing the training to become a photographer, I started to focus on model photography. The interaction with people is a part that appeals to me.
Criticism is a prerequisite for development as a photographer
Being open to criticism and self-criticism is a prerequisite for development. There came a time when I noticed that I was no longer developing. My results were technically fine, but there was a lack of variation.
Each shoot was, in my opinion, a repetition of the previous one. The only thing that changed was the model. You may call it coincidence, but during one of my event shoots, I met an enthusiastic woman.
Although she didn't have any modeling experience, I saw the potential in her. After a few photoshoots, I asked her if she wanted to be my regular model that she agreed to. We soon became well-matched.
Because I had to pay less attention to my coaching role, I was allowed to concentrate on things I wanted to improve on. This new way of working quickly paid off, and what I expected happened: my photography evolved.
An article about conceptual photography also helped me with this. I started to approach the shoot in a completely different way. The shoot became part of a project in which two phases before the shoot became equally important.
The four phases of a model photoshoot
In my opinion, a shoot can be divided into four equal phases. Namely:
- 1. The idea
- 2. The preparation
- 3. The shoot
- 4. The finish
Perhaps I am now giving the impression that all my results have been fully directed, but that is not entirely true. The preparation only serves as a guideline. During a shoot, seeing is even more important than looking. It often gives excellent unexpected results within the planned concept. Within a concept (idea + preparation), there should be enough room for spontaneous creation and personal input from the model.
A model photoshoot is more than the shoot itself
I was going to take a completely different approach to the shoot. At first, the actual shoot was the main focus, but now it has become a part of it.
A good example is this anecdote:
The shoot was done, it was getting dark, and it started to drizzle. The model (Astrid) and I walked back to the parking lot. I see a car leaving the parking lot, and the model is in the backlight. With the rain, a unique opportunity was born. A quick instruction of the model and the picture is taken. Then the first review takes place. The car in question has already been driven away. We don't like the photo for the full 100%. Well, we put our car in the right position. The model was instructed, and the picture was taken.
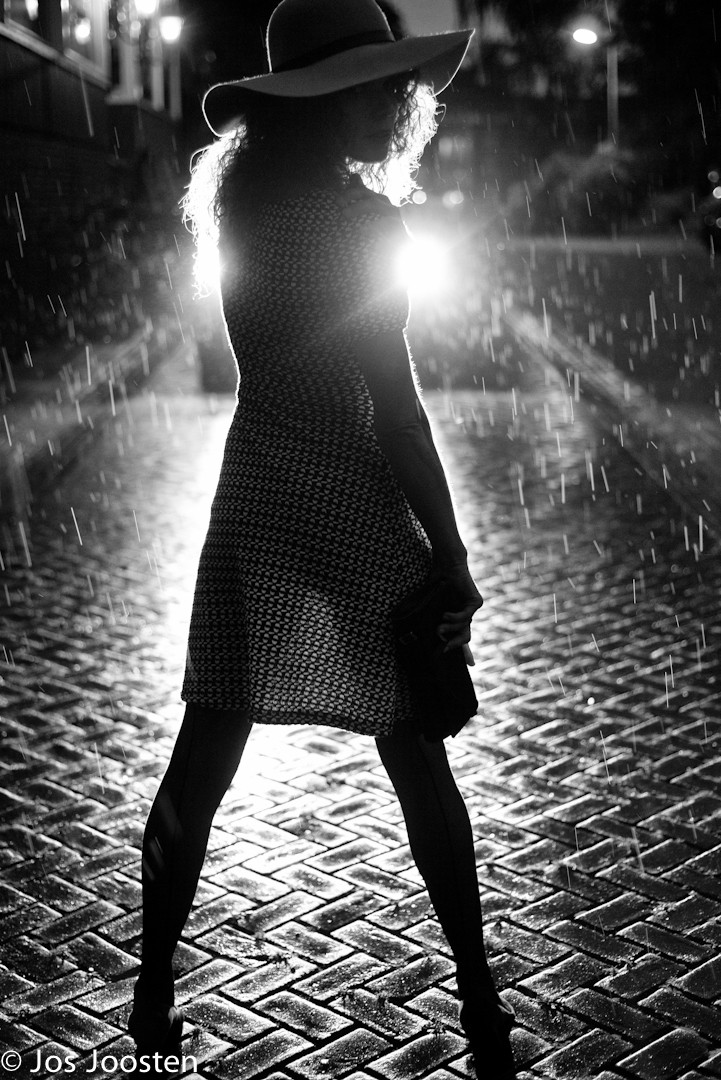
So it wasn't a lucky shot, it was a blessed moment.
Now back to my story. Step by step, I will explain the different phases below.
Phase 1: The concept.
I come up with ideas by reading about photography, talking about photography in the photo club and forums, by looking at sites, looking around me, analyzing fragments from films, and so on.
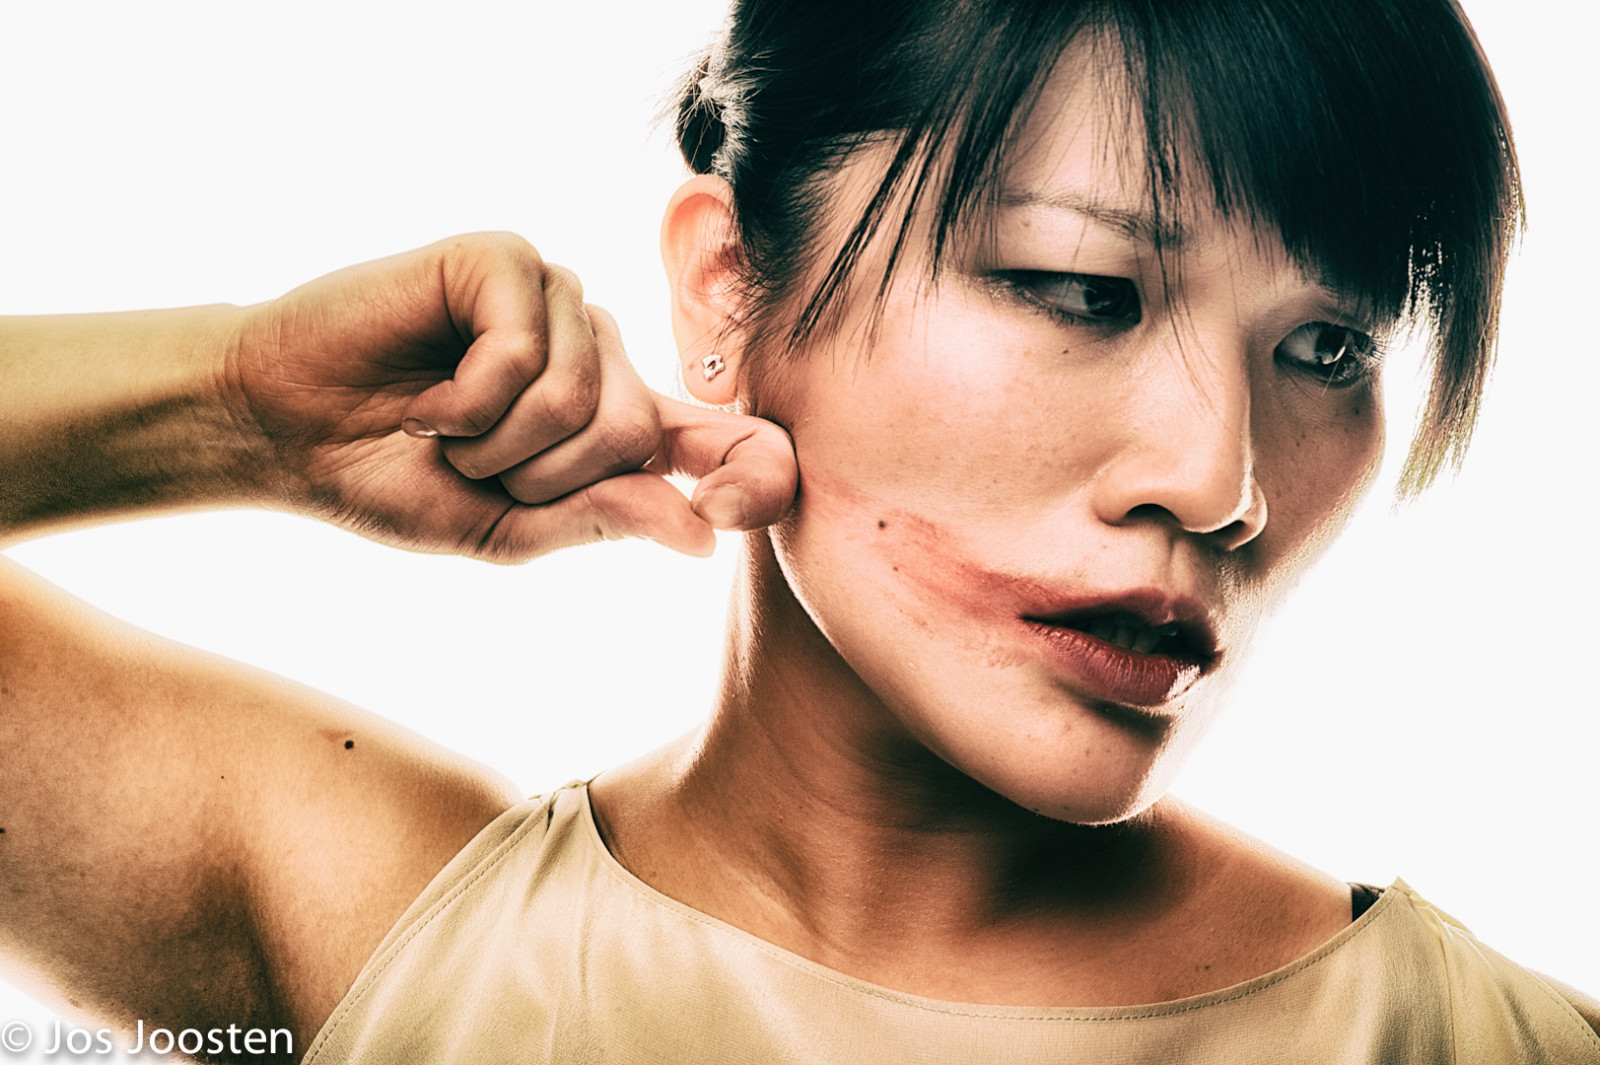
Model: Yin; inspiration: David Bowie-China Girl
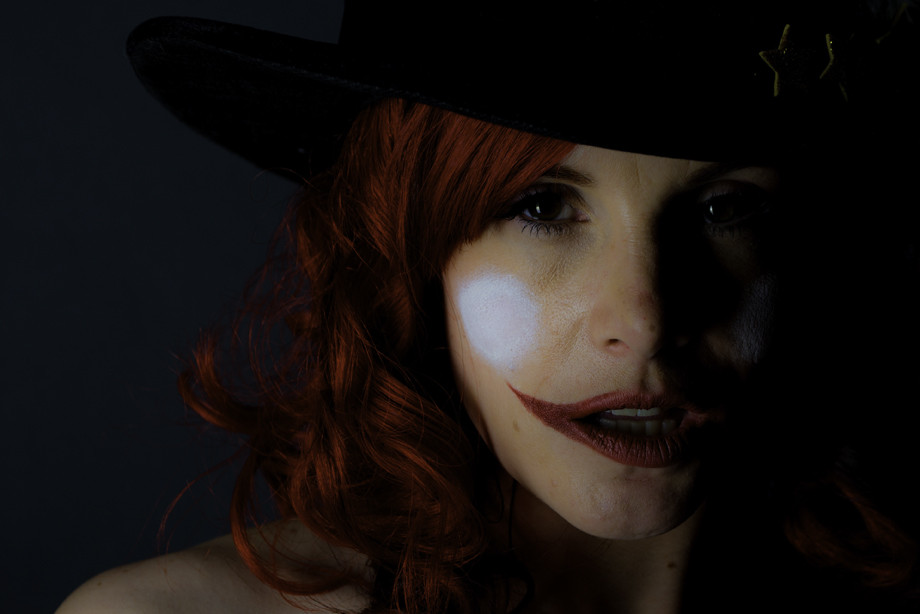
Model: Xanthine; Inspiration: Batman-The Joker
Over the years, I have collected several photo books from successful and interesting photographers. Think of Helmut Newton, Ellen von Unwerth, Peter Lindbergh and Mario Testino. Photographers, each with their style.
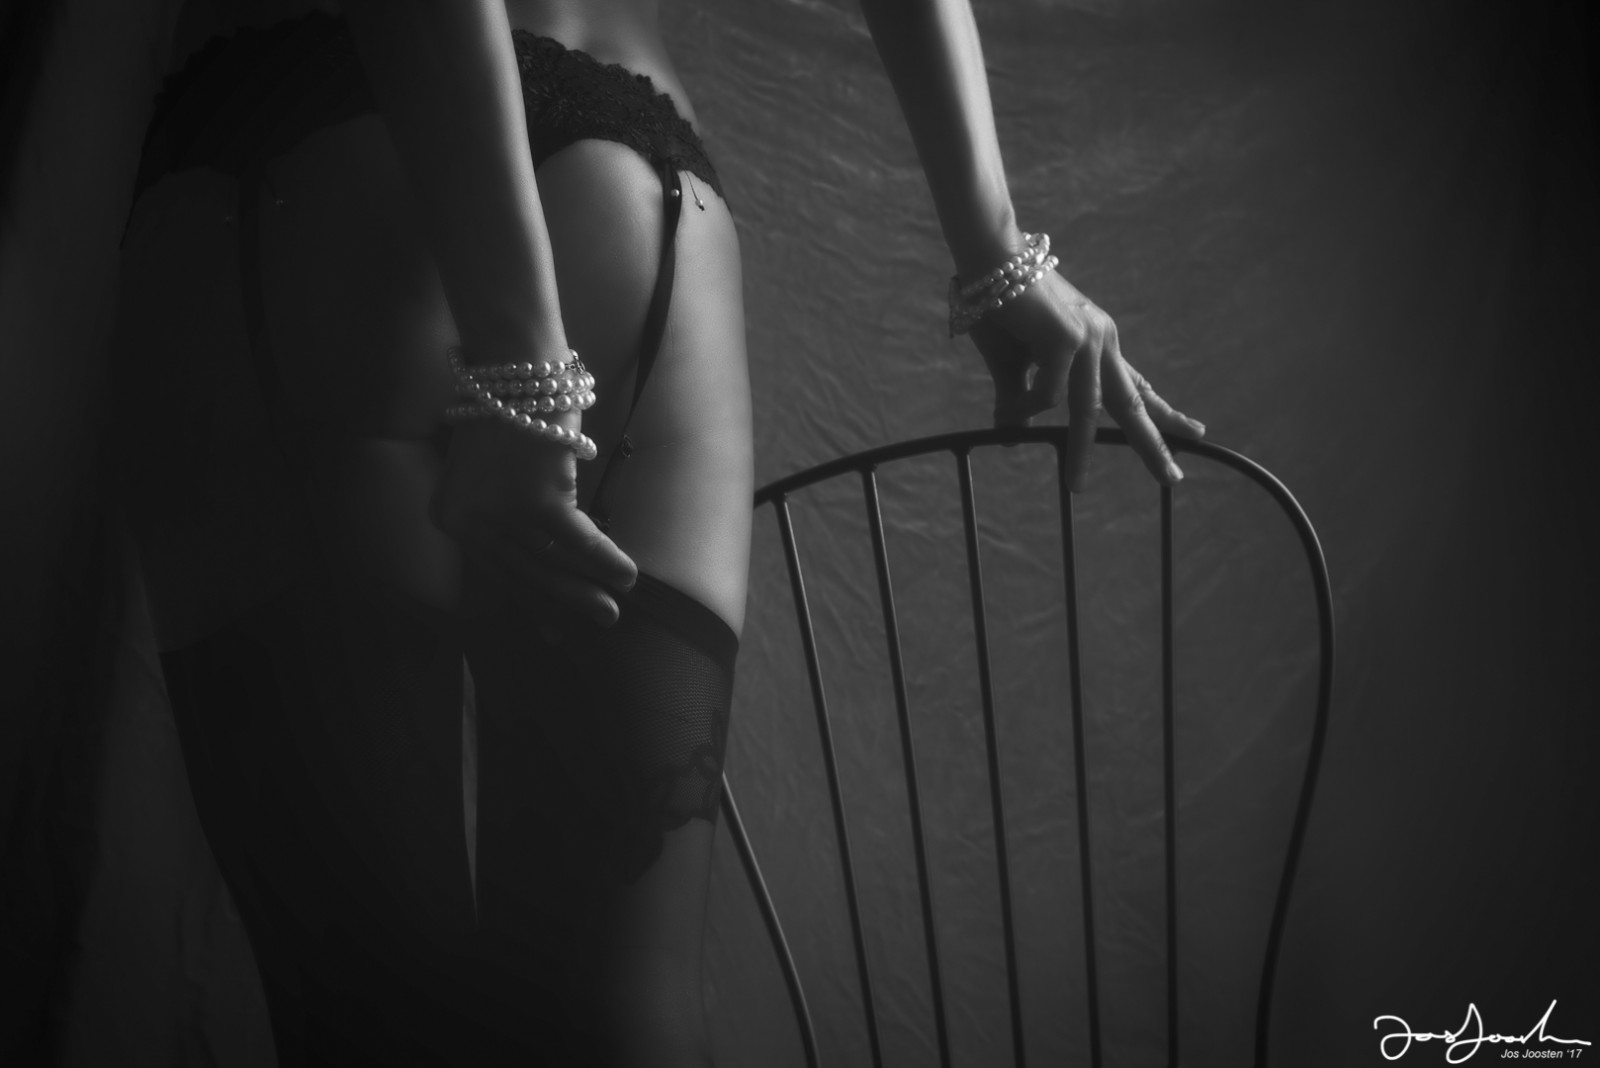
Model: Astrid; Inspiration: Mark Lagrange
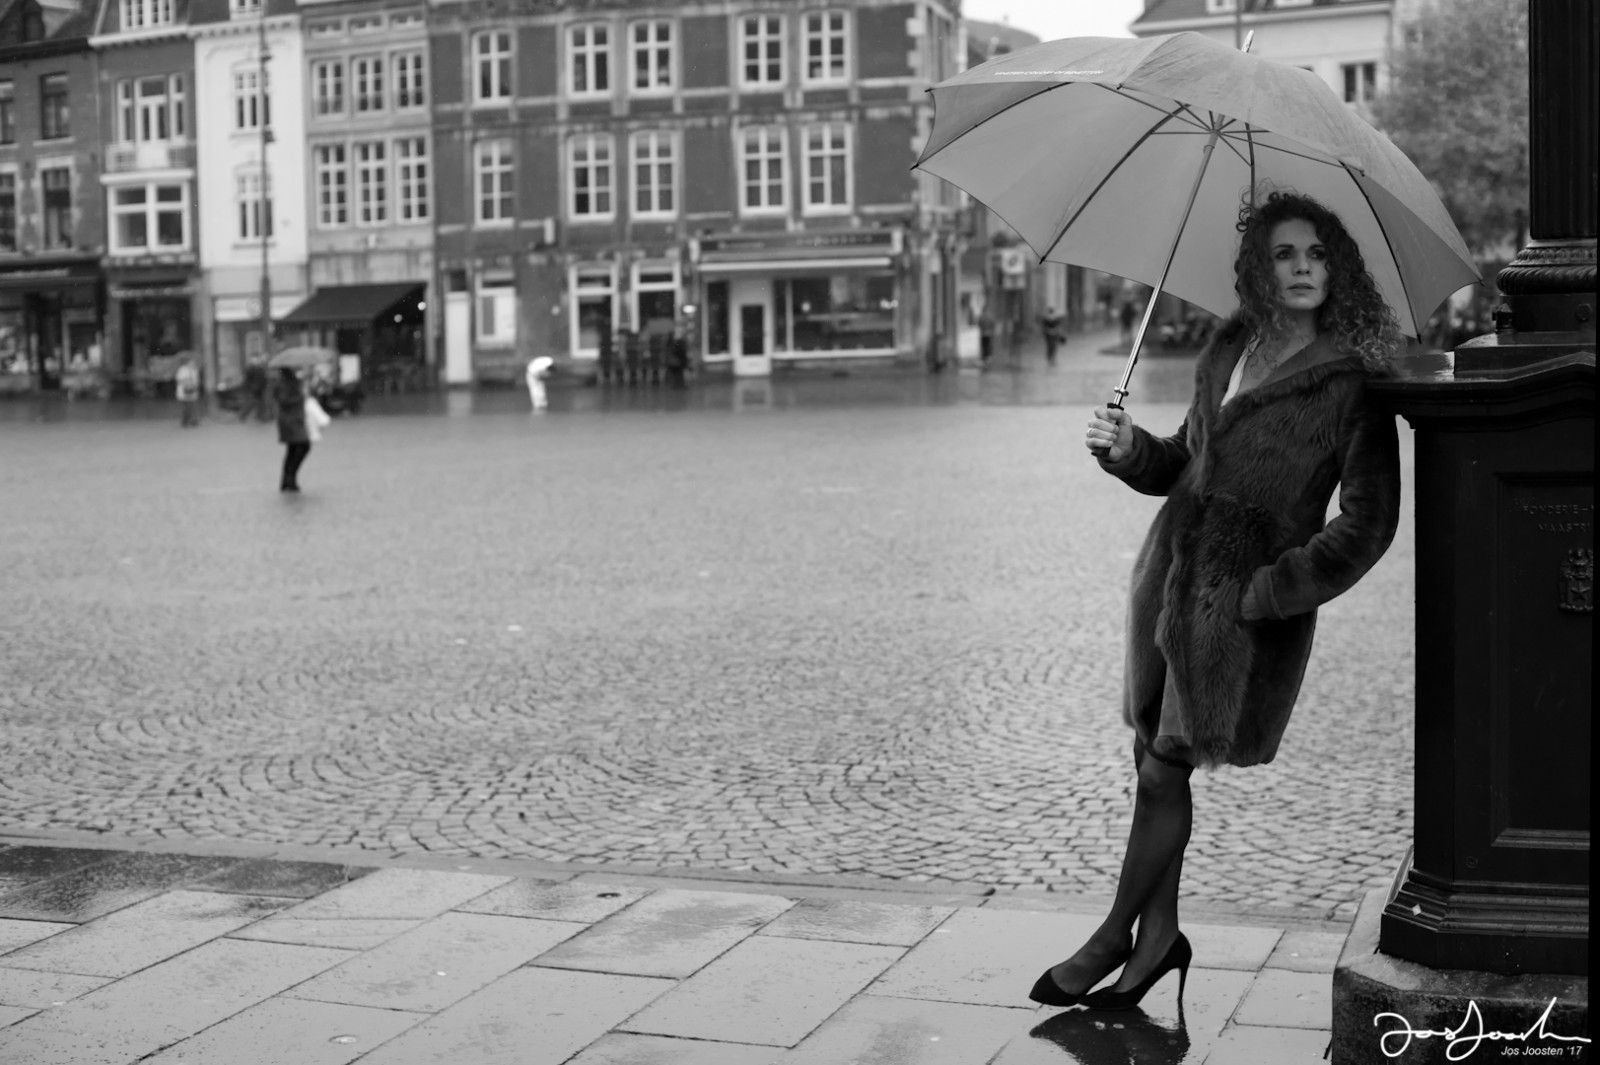
Model: Astrid; Inspiration: Peter Lindbergh
If a location, a style, an incident, or image inspires me, I go through the different phases with this idea to create the result, the photo.
Phase 2: The preparation.
Usually, I use Pinterest to find examples and start composing a mood board. Below is a mood board that was made for a studio shoot with the Zumba and Strong by Zumba theme.
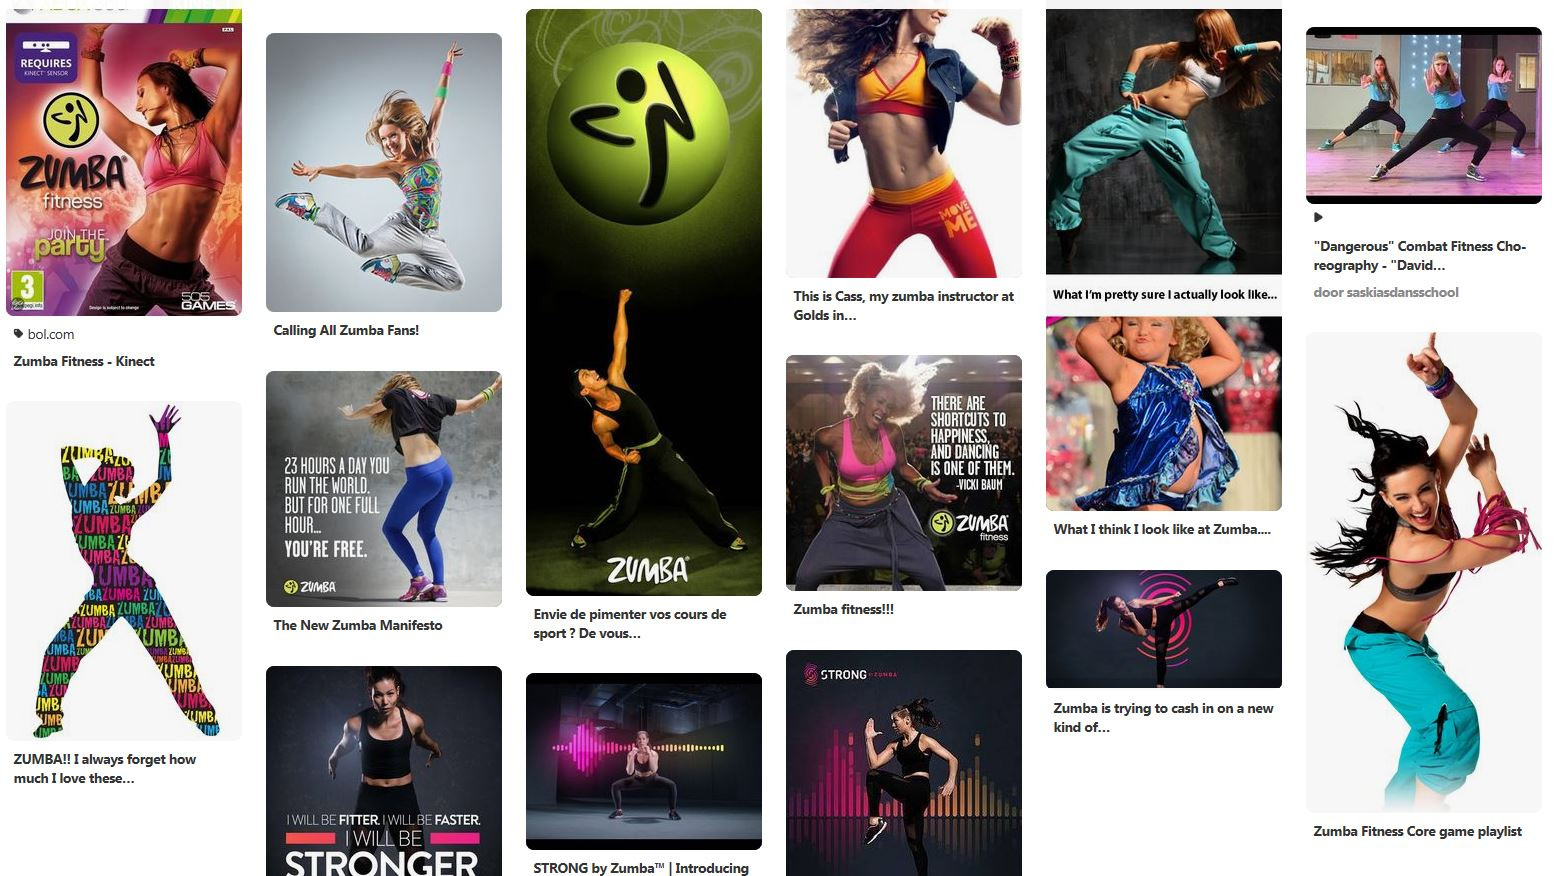
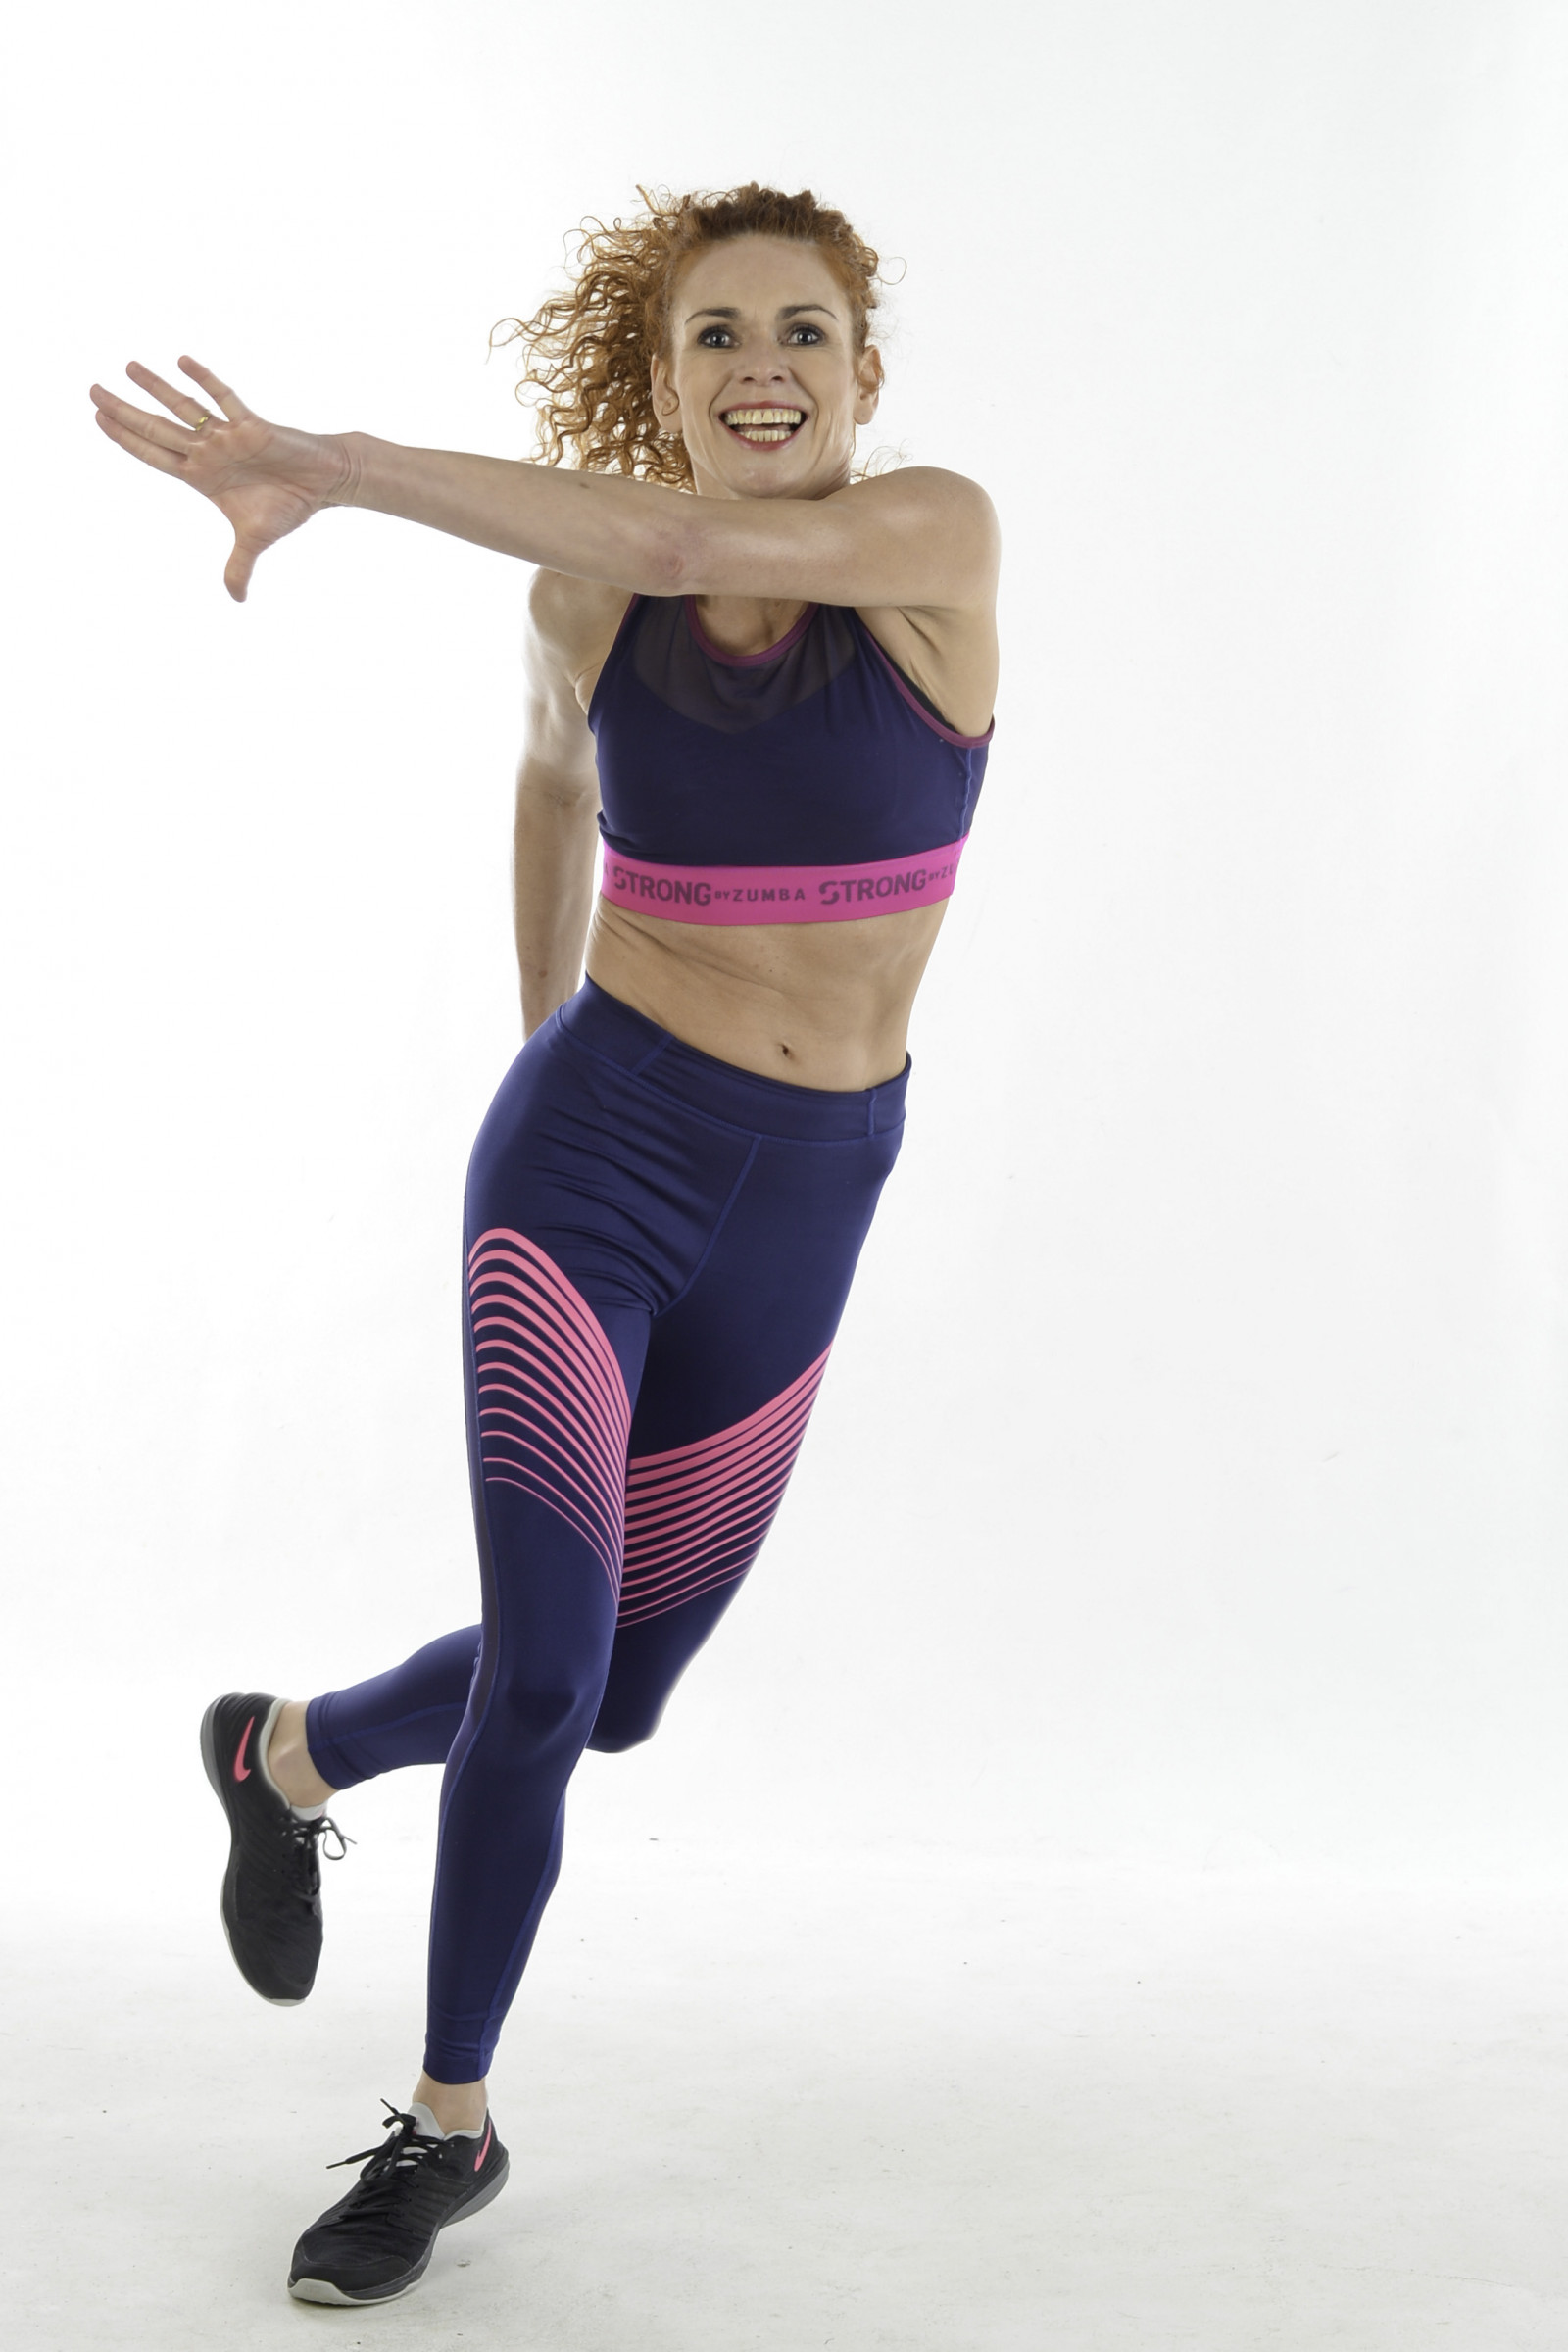
The result:
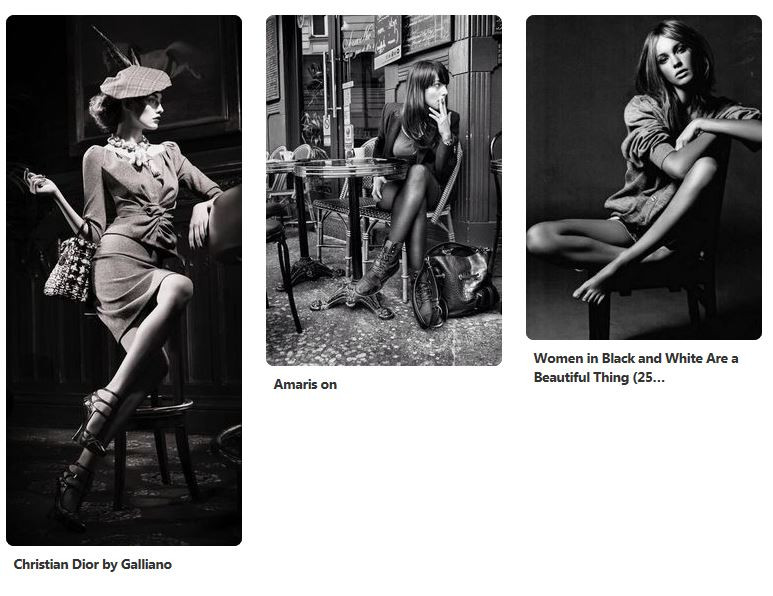
And a mood board that served in a shoot on location.
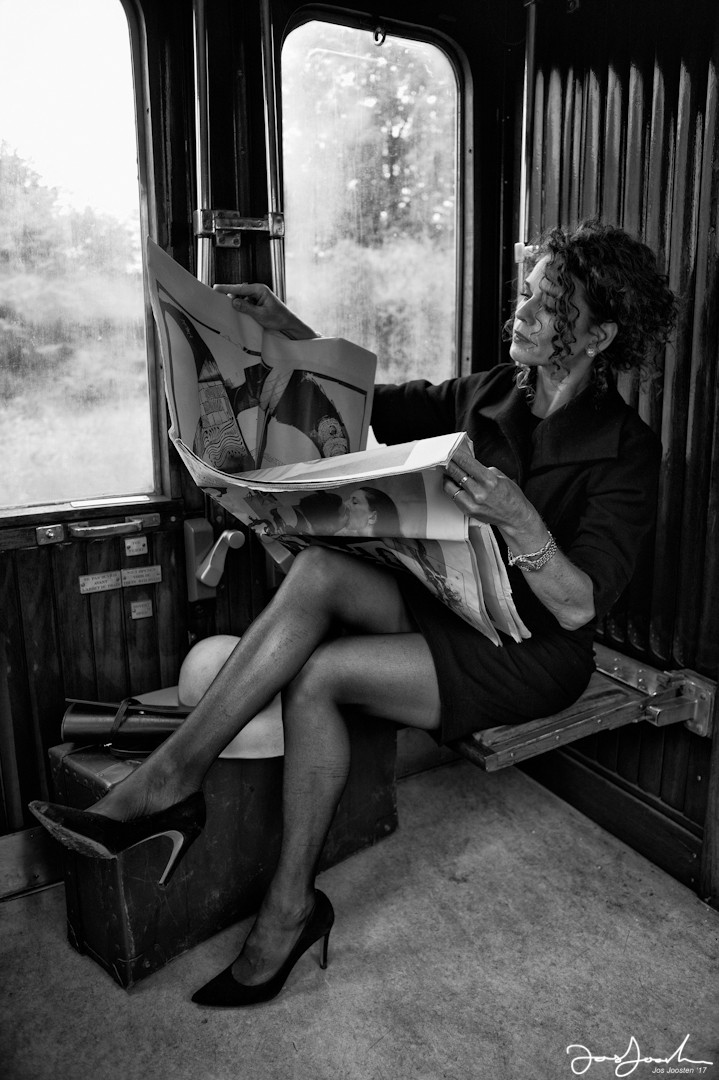
The result:
Involve the model during the shoot
Next, I discuss the concept with the model. She proceeds to her part of the preparation. Think, for example, of the choice of clothing and harmonization, but also the hairstyle and choice of accessories.
At a professional shoot, these are the tasks of the muah (make-up and hairdresser) and/or stylist(s).
Be sure to know your location before you start a shoot
As a photographer, I'm trying to find a suitable place. I also estimate the threats to the choice of location. Like:
- Is the site accessible?
- Does the weather affect you?
- Is it desirable to have unexpected spectators?
As a photographer, I feel responsible for these considerations. So don't do anything that puts others (or yourself) in danger or embarrassment.
Consider what light you want
When the right location is found, I think about the light. In other words, at what time of the day do you want to do the shoot. Without proper light, no beautiful picture.
I prefer early in the morning. That is when the light is most pleasant for me. The light is less harsh, and you often get better shadows. An alternative is at sunset.
If you go on a weekday, you also have the least chance of unexpected spectators. It is quiet so that everyone can concentrate on his or her task.
The preparations have been made, and the date has been set, suitcases have been packed, the shoot can begin.
Phase 3: The photoshoot
Now the bottom line is that everything you have in mind is turned into actual images. Communicate well and clearly with your model. Explain the situation you want to visualize and leave room for interpretation and improvisation for the model as well.
Create your images, judge, discuss and correct them. Better to repeat a situation three times than to miss out on the ultimate image.
Adjustments will also help you in the next phase. The small pose or light corrections mean that you have considerably less work to do when "developing" the photo.
Phase 4: The finishing touch
My rule of thumb is that an image may not be edited for more than 10 minutes in Photoshop. If you do, you didn't pay attention when taking the picture.
The golden section
I edit photos in Adobe Bridge. I pay particular attention to the framing and straightening of the image. As a rule of thumb, I use "the rule of third parties or golden section."
Of course, you can always deviate, as long as you have thought about it. Next, I open the selected files in Lightroom and use Nik software to improve the color, atmosphere, and details. It is done in layers and is not destructive to the original.
If more adjustments are necessary on a detailed level, I will do so in Photoshop. Think of the pimple in the face or irregularities in clothing or background. Now pay attention, because retrieval is back to square one. I almost always deliver the series in equal edits. It creates unity.
And then it is the presentation of your image. It has secretly become a child, and like any proud parent, you hope that it will be found beautiful.
Feedback is a gift
And then something I want to give you when feedback comes. It is a commentary on the photo, not on you. Take lessons from it or put it next to you. Everyone has the right to an opinion, but it remains an opinion - nothing more, nothing less.
For the "material-men": I shoot with Nikon full-frame. In model photography, I usually use prime-lenses, that is to say: Nikkor 50mm/f1.4 or Nikkor 85mm/f1.8.
You can find my portfolio at this site
All pictures (except for the Pinterest screenshots) in this article are made by me. Of course, this (and the text) is copyrighted. I enjoyed writing this article. After all, sharing knowledge is multiplying knowledge. Take advantage of it, but above all, have fun in photography.
Jos Joosten Photographer
-
Amsterdam Photo Tours | Discover the Secrets of Amsterdam
12 mins read

-
Amsterdam Photo Tour | Bikes in the city
4 mins read

-
Street art in Amsterdam | The Art Town
10 mins read

-
How to use Depth of Field in photography?
5 mins read

-
Results of a creative photo tour in Amsterdam
6 mins read

-
Glenn van den BoschPhotographer writer€ 0,25 pm
-
Robin Grevelle MorrissTeacher & Freelancer€ 0,38 pm
-
Natalie RamosPhotographer/Writer€ 0,05 pm
-
Michael KlinkhamerPhotography-CoachFree
-
Tshiamo LehobyePhotographer/Model€ 0,05 pm
-
Clarement De JagerStudent&photographer€ 0,05 pm